Introduction
Configuring your AISURIX RX 580 8GB correctly is crucial for maximum gaming performance and taking advantage of all its unique features like the intelligent 0-dB cooling system.
This guide will take you step by step from physical installation to advanced optimization with safe overclocking.
As seen at Omar YT Play in AISURIX RX 580 vs GTX 1660 Super.
Compatibility Verification and Preparation
Before opening your AISURIX RX 580 box, it's essential to verify that your system is fully compatible.
✅ Compatibility Checklist
- Motherboard: Free PCIe x16 slot
- PSU: 550W+ with 8-pin PCIe connector
- Case space: 28cm length, dual-slot
- RAM: Minimum 8GB (16GB recommended)
🛠️ Required Tools
- Phillips screwdriver: For case screws
- Anti-static wrist strap: Optional but recommended
- Clean surface: For safe work area
- Flashlight/lamp: Good lighting
⚠️ Critical Verifications
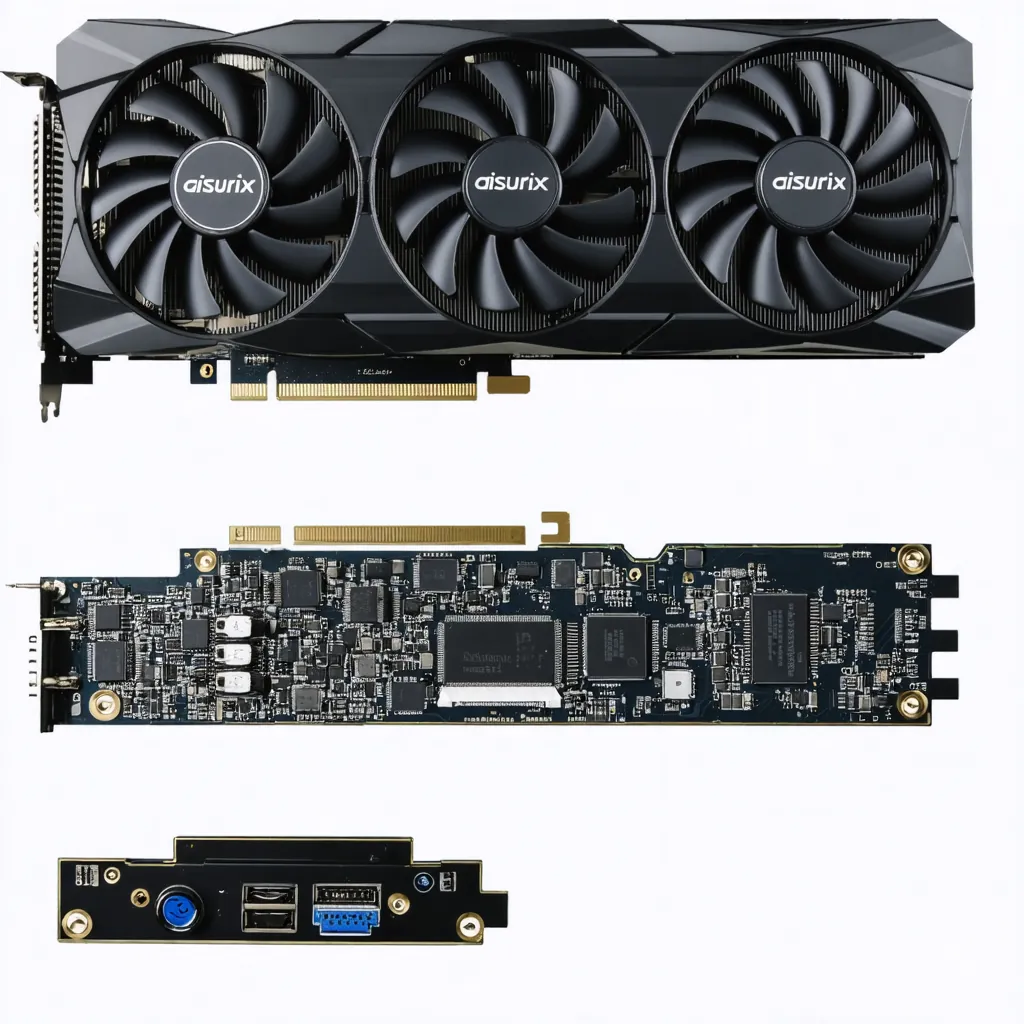
Physically measure space in your case. The AISURIX RX 580 measures approximately 28cm long x 12cm high x 4cm thick. Verify your PSU has the 8-pin PCIe connector available.
Physical Installation in the Case
Physical installation should be done with the PC completely turned off and disconnected from power.
System Preparation
- Complete shutdown: Shutdown and disconnect power cable
- Wait 30 seconds: Discharge residual electricity
- Open side panel: Left side of the case
- Anti-static strap: Connect to chassis if available
AISURIX RX 580 Installation
- Locate PCIe x16 slot: Usually closest to CPU
- Remove bracket plates: Those that interfere (2 slots)
- Open PCIe latch: At the end of the slot
- Insert GPU: Firm but don't force until click
Conclusion
Congratulations! Your AISURIX RX 580 8GB is now perfectly configured for maximum gaming performance.
In our Omar YT Play analysis: Aisurix RX 580 Graphics Card.
With correct physical installation, optimized drivers, personalized gaming profiles and conservative overclocking, you should see significant improvements in FPS and stability.
Also at Omar YT Play we have Complete AISURIX RX 580 Drivers Guide.
🎯 Setup Completed
Let's Game! 🎮 - Your AISURIX RX 580 is ready for maximum performance