Complete Guide: How to Configure Logitech G203 Mouse with G HUB 2025

Just bought a Logitech G203 and don't know where to start with configuration? Is G HUB software confusing? In this step-by-step guide I'll explain exactly how to configure every aspect of your gaming mouse, from software installation to advanced game-specific settings.
Prerequisites Before Starting
- Logitech G203 Mouse properly connected
- Internet connection to download G HUB
- Windows 10/11 or macOS 10.15+ operating system
- Administrator permissions to install software
Step 1: Download and Install Logitech G HUB
The official software to configure your G203 is Logitech G HUB. Follow these steps:
We recommend checking at Omar YT Play: Repair Your Logitech G203.
Download from official website
- Go to logitechg.com
- Click "Download now"
- Select your operating system (Windows/macOS)
Install G HUB correctly
- Run the downloaded file as administrator
- Follow the installation wizard
- Restart your computer if necessary
Step 2: Connect and Make G HUB Detect Your G203
If G HUB doesn't automatically detect your mouse, try these solutions:
Common detection issues
- Disconnect and reconnect the mouse
- Try a different USB port
- Completely restart G HUB software
- Make sure no other mouse software is conflicting
Step 3: Complete G203 Configuration
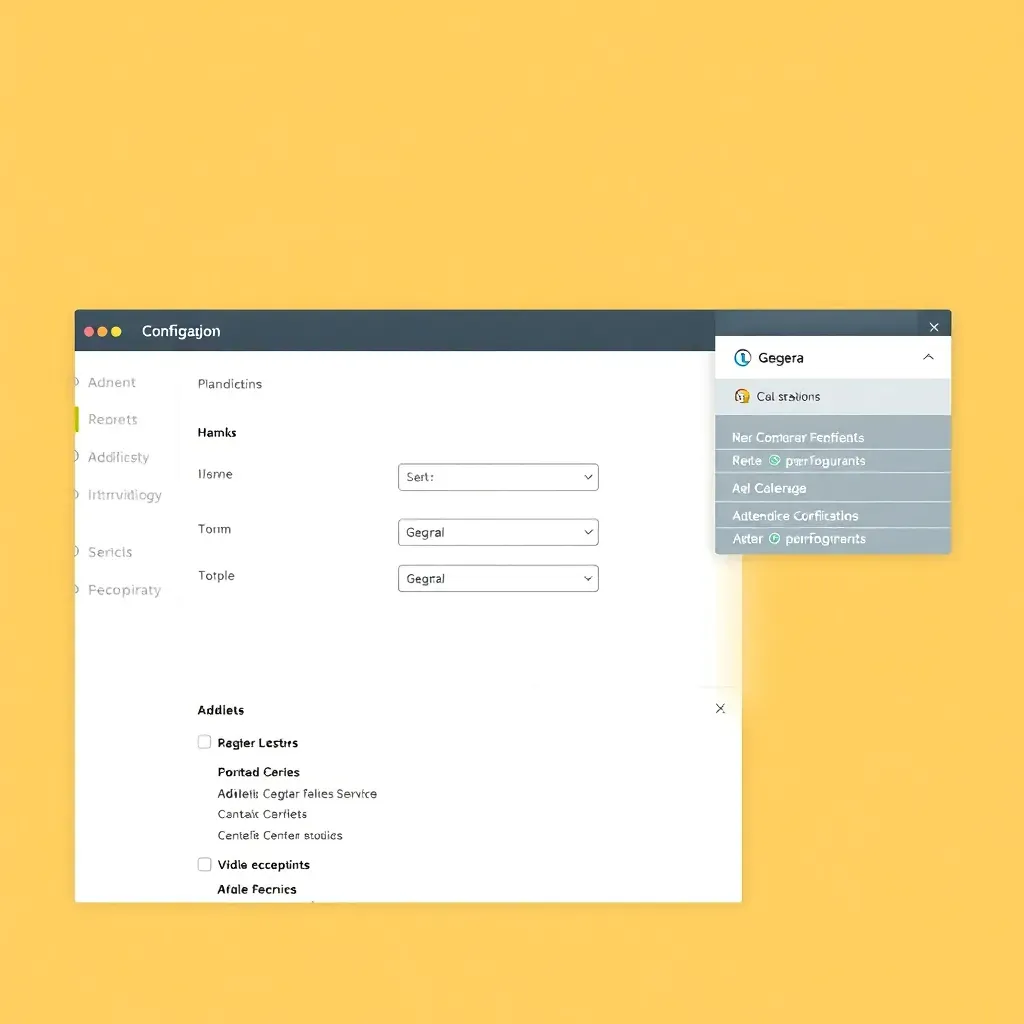
Configure DPI and Sensitivity
The G203 allows up to 5 customizable DPI levels:
- Low DPI (400-800): Ideal for FPS like Valorant/CS:GO
- Medium DPI (1200-1600): For MOBA like League of Legends
- High DPI (2000+): For productivity and 4K displays
Customize RGB Lighting (LIGHTSYNC)
The G203 has customizable RGB lighting:
- Solid color: Choose a constant color
- Breathing: Fade in/out effect
- Color cycle: Automatic rotation
- Audio visual: Reacts to sound
Assign Functions to Buttons
All 6 buttons on the G203 are fully programmable:
- Side buttons: Assign macros or shortcuts
- Scroll wheel: Configure additional click
- DPI Switch: Quick sensitivity change
Recommended Settings by Game
For FPS (Valorant, CS:GO, Fortnite)
- DPI: 800 with in-game sensitivity 0.3-0.5
- Polling Rate: 1000Hz (maximum)
- Buttons: Assign melee/quick reload
For MOBA (League of Legends, Dota 2)
- DPI: 1200-1600 for fast movement
- Side buttons: Assign active items
- Lighting: Different color per champion profile
Troubleshooting Common Problems
G HUB doesn't detect my G203
- Completely reinstall G HUB
- Try on another computer
- Update USB drivers
- Contact Logitech support
Configuration doesn't save
- Verify you have "On-board" profile active
- Restart G HUB after saving
- Make sure you have the latest software version
Frequently Asked Questions
Does G203 work on Mac?
Yes, G HUB is available for macOS and G203 works perfectly on Apple computers.
Can I use G203 without G HUB?
Yes, but you'll lose advanced customization. It will work with basic configuration.
Also at Omar YT Play we have Master Logitech G HUB.
What's the difference between DPI and sensitivity?
DPI is the physical sensor sensitivity, while in-game sensitivity is a software multiplier.
In our Omar YT Play analysis: Logitech G203 LIGHTSYNC RGB Review | OMAR YT PLAY.
Discover more content at Omar YT Play